Software Download and Update
Vector H & F Series Simple Control

How to Download Software
IMPORTANT: Read all of the instructions for your firmware version before attempting a software update or watch this quick video on how to download software. If you need assistance, please call the Alto-Shaam service department at 1-800-558-8744.
Failure to follow the installation instructions exactly as outlined on this page may result in an inoperable oven and a service call.
IMPORTANT: Make sure you have a blank USB drive.
Step-by-Step Instructions
IMPORTANT: Read all of the instructions for your software update before attempting the update. If you need assistance, please call the Alto-Shaam service department at 1-800-558-8744.
Failure to follow the installation instructions exactly as outlined on this page may result in an inoperable oven and a service call.
IMPORTANT: Make sure you have a blank USB drive.
On the Computer:
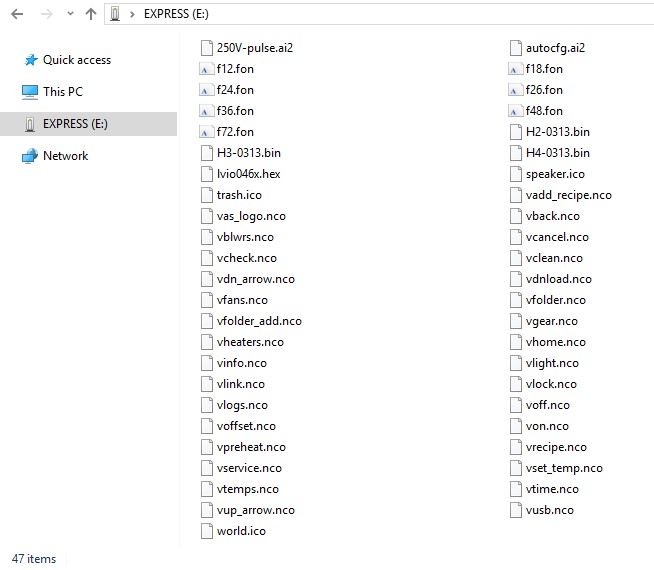
Step 1. Click on the download link above for the latest Vector Series Firmware. Open the .zip folder, and copy all files to the top level of the USB drive. Eject the USB drive from your computer after the files have been saved.
On the Oven:
Before you begin: Record the oven serial number, model, and voltage. Navigate to the Oven Info screen, record the Interfacce Board (IB), Control Board (CB), and pulsing voltage.
Step 2. Touch the Settings (Gear) icon on the Main Screen. The User Configuration screen displays.
Step 3. Touch the USB icon. The USB Functions screen displays.
Step 4. Insert the USB drive into the Vector oven's USB port.
NOTE: You must update the Interface Board and the Control Board to complete the firmware update.
Step 5. To update the Interface Board, touch the Update IB icon. Use the number pad to enter the user pass code (factory default is 12345), then touch the green check mark.
Step 6. The screen displays a list of interface board firmware files that are on the USB drive. Touch the firmware listing that matches the model of your oven.
The firmware loads. The oven display cycles through several screens. The oven then turns off and the screen goes blank.
IMPORTANT: Do not remove the USB drive during the update process.
Step 7. Press the ON/OFF button to turn on the oven to complete the Interface Board update.
Step 8. Touch the Settings (Gear) icon on the Main Screen to return to the User Configuration screen, then the USB icon to return to the USB Functions screen.
Step 9. To update the Control Board, touch the Update CB icon. Use the number pad to enter the user pass code (factory default is 12345), then touch the green check mark.
Step 10. The screen displays the control board firmware file. Touch the firmware listing.
The firmware loads. This may take several minutes. When loading is complete, the oven display cycles through several screens. The oven then turns off and the screen goes blank.
IMPORTANT: Do not remove the USB drive during the update process.
Step 11. Press the ON/OFF button to turn on the oven to complete the Control Board update. Verify your CB firmware is the correct version (CB 5.2). If your CB firmware version is CB 0.99, repeat steps 9 to 11.
NOTE: For 220–240 volt and 380–415 volt models, you must download the 250V-pulse.ai2 file into the oven. For 208–240 volt models, go to step 16.
Step 12. Touch the Settings (Gear) icon on the Main Screen to return to the User Configuration screen, then the USB icon to return to the USB Functions screen.
Step 13. Touch the Load Config icon. Use the number pad to enter the user pass code (factory default is 12345), then touch the green check mark.
Step 14. The screen displays the 250V-pulse.ai2 firmware file. Touch the firmware listing.
The firmware loads. This may take several minutes. When loading is complete, the oven screen cycles through several screens. The oven then turns off and the oven screen goes blank.
IMPORTANT: Remove the USB drive after the screen goes blank.
Step 15. Press the ON/OFF button.
Step 16. On the Oven Info screen, verify your firmware is the correct versions (IB 4.02 and CB 5.2). Also, verify the pulsing voltage on the Oven Info screen.
Resources
View resources:
For additional resources to help navigate the software and applicable product changes, please click the following links and videos below.
Manuals
Quick Guides
Vector Simple Control How-To Videos
Short videos to instruct users on how to use the Vector Oven with Simple Control.
How to Turn On & Turn Off
This video shows how to turn on and turn off power to the oven.
How to Use Home Screen Controls
This video shows how to use the home screen controls for the Vector Simple.
How to Create, Edit, or Delete Recipe Programs/Folders
This video shows how to manage recipes on the Vector Simple control oven.

Settings Page Overview
This video walks through the Settings page on the Vector Simple control oven.
How to Cook by Program
This video shows how to cook by program on the Vector Oven with Simple control.
How to Download & Update Software
How to download and update software on the Vector Simple control oven.
How to Cook using Manual Mode
This video shows how to cook using manual mode.
How to Link Chambers
This video shows how to cook using linked chambers.
How to Save and Load Recipes via USB
This video shows how to save and load recipes using a USB drive.